Studio Lighting 1

In the second photography workshop with Alex Gaites, I learned about different lighting styles such as Low/High key, Split lighting, Broad Lighting, Rembrandt and so on. We tried those together in groups in the Viscom lecture room on the day.

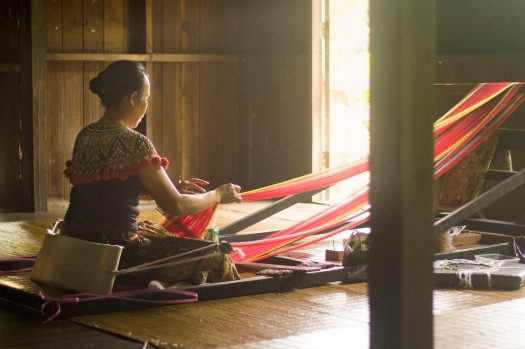
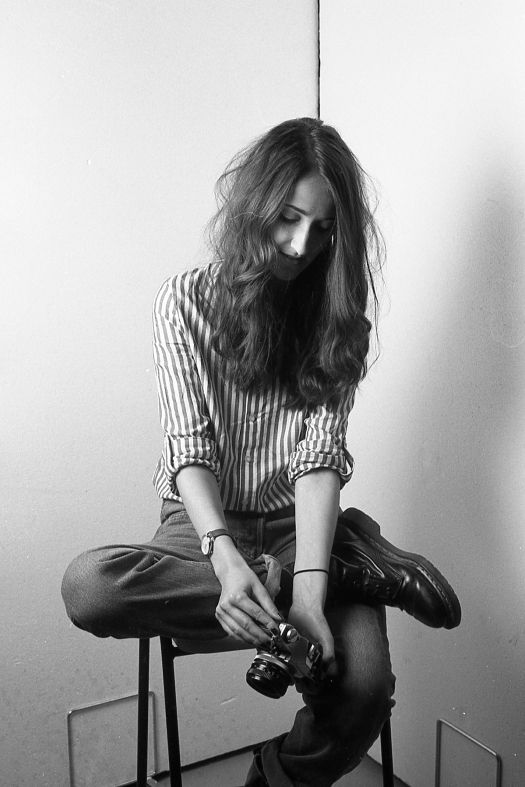
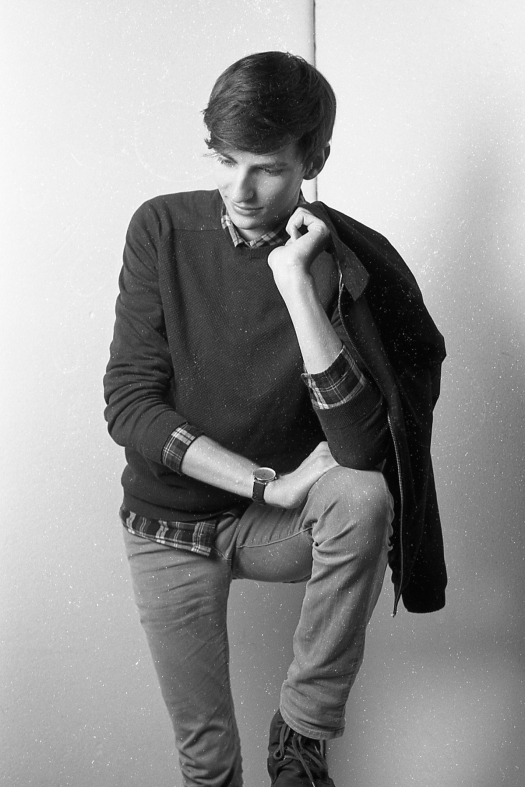
I had my first try with studio lighting last year, and haven’t tried it again since. Here are some of the photographs:-14672639_10153921596573244_1311175811_o14672760_10153921596633244_401059419_o14672911_10153921596588244_883611184_o14697115_10153921596638244_1694414435_o14699441_10153921592738244_244744537_o

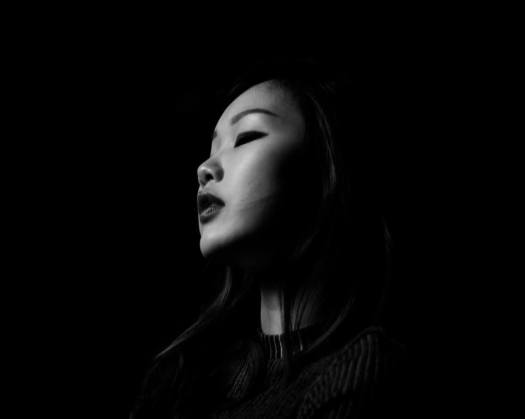
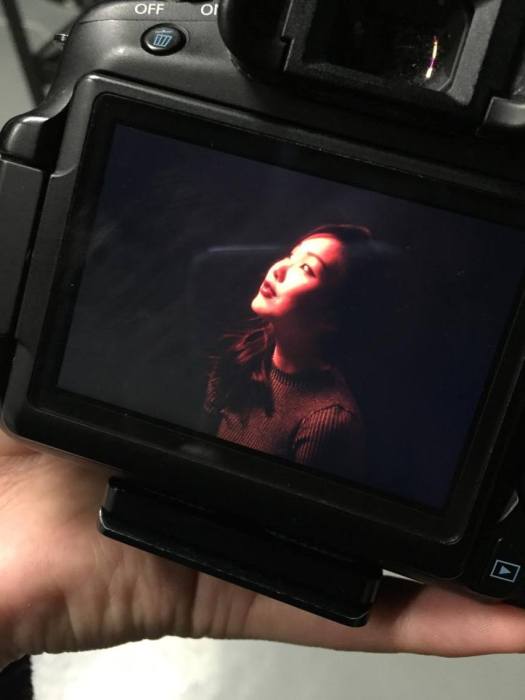
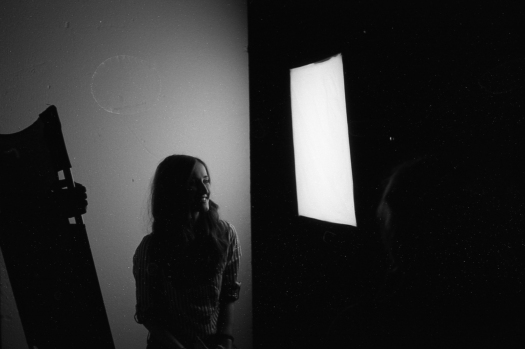
After the session with Alex Gaites, I wanted to give the aforementioned styles and more, a try. One morning, Alex Vann from the photography department gave us a brief but extremely advantageous session on studio lighting. The picture below is his setup(minus the white board behind me ).

img_9035

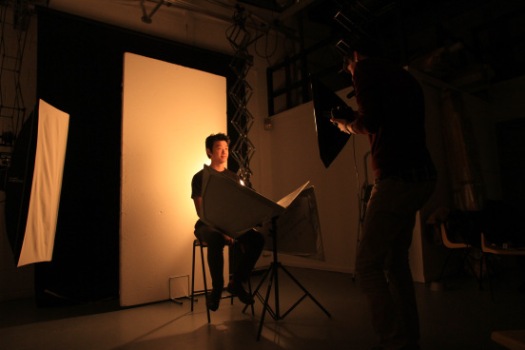
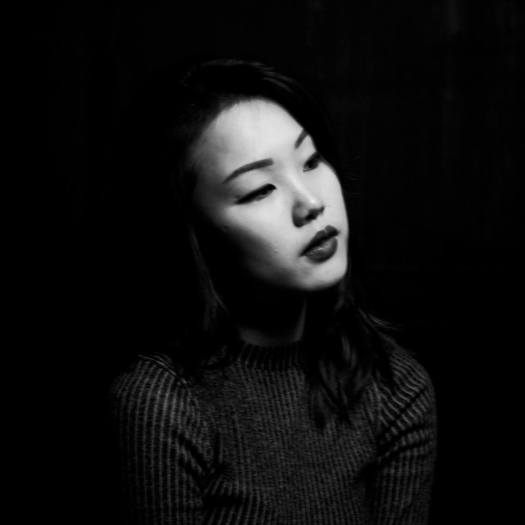
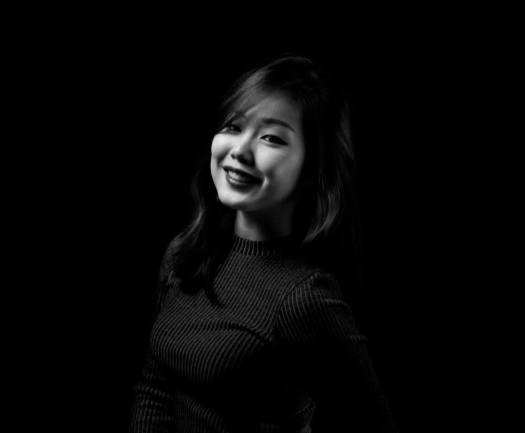
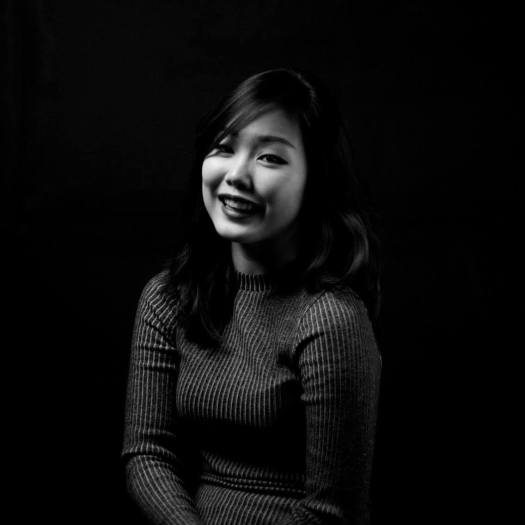
He began with what he suggested was a good place to start ; placing the key light at a  45Degree angle away from the camera. This produces Loop Lighting. He then demonstrated the effect of adding reflectors beside the subject(me), opposite the key light. This helps to separate the subject from the background which is especially useful when the subjects hair and the background are both black. He also setup a pair of reflectors before me below my chin. This eliminates some of the shadows produced by the key light. He told us a lot about the relationship between the light, the subject and the camera, and that once a variable is changed, for example if the subject faces a different way, this alters the whole relationship.

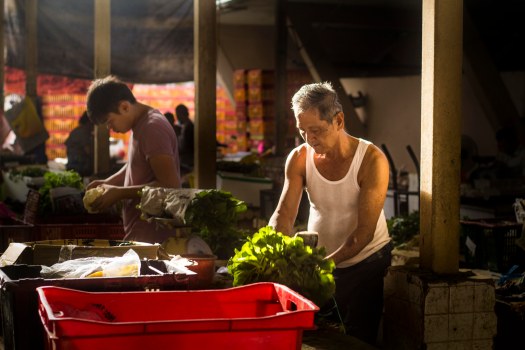
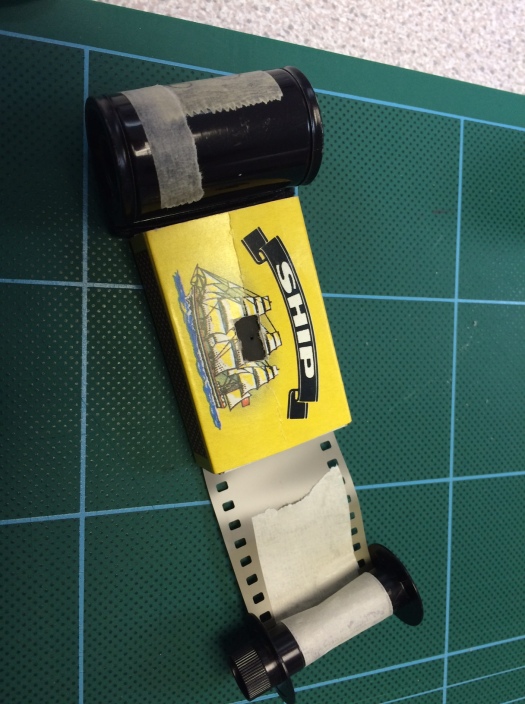
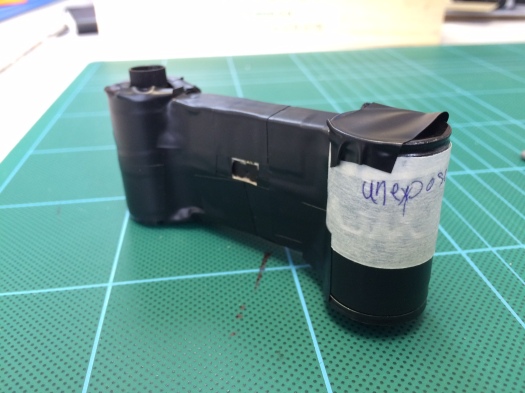
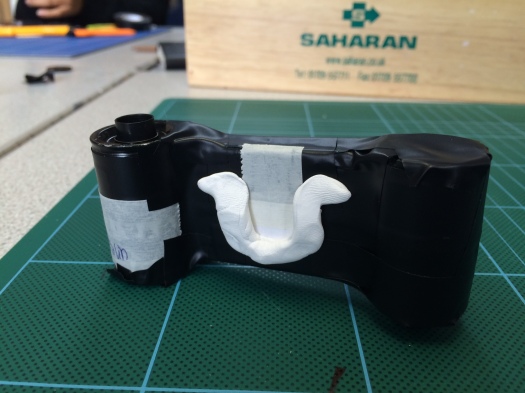
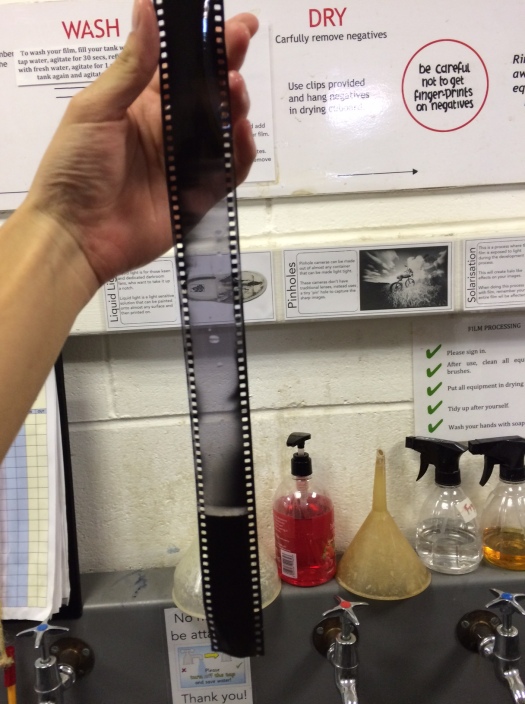
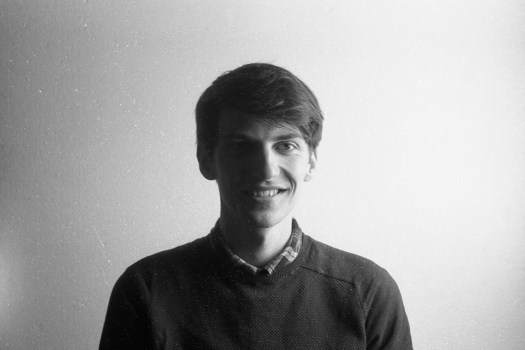
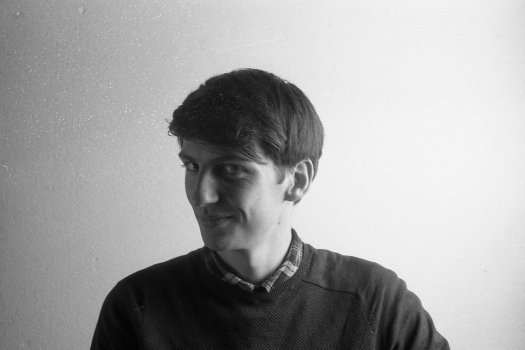
Unfortunately for me, I shot with film and had a light leak in the camera, so many of the pictures have been destroyed..another shoot will definitely be needed.. but, here are some survivors :-

img028
Split lighting
img027
???

img023img024

img017
Topman ambassador
img033
BTS Split Lighting + Fill

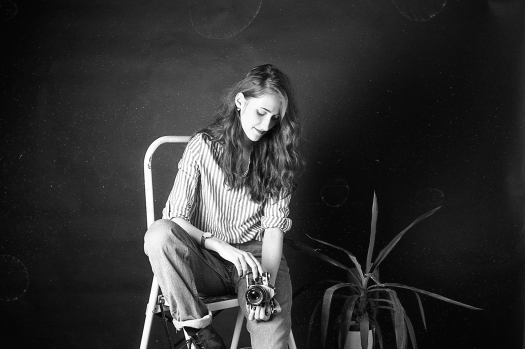
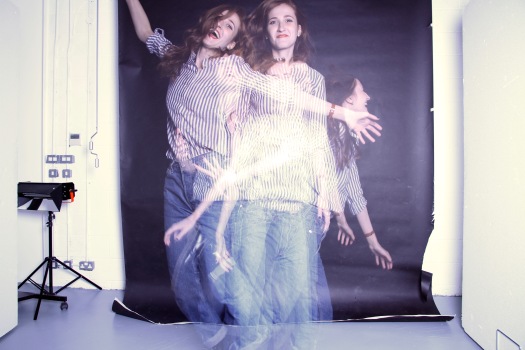
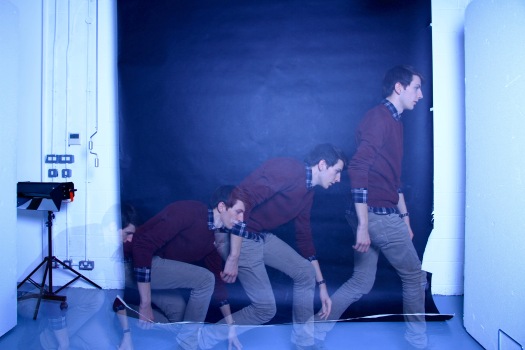
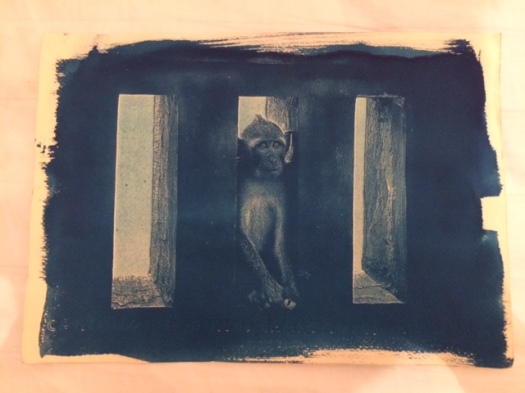
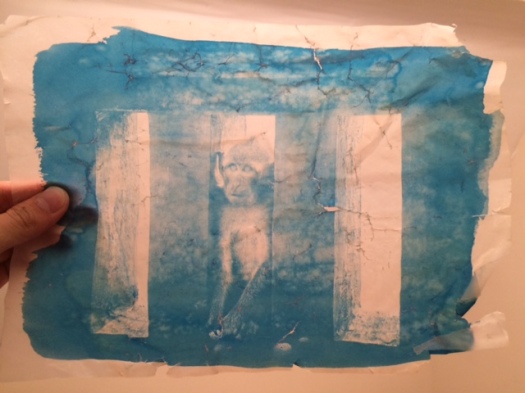
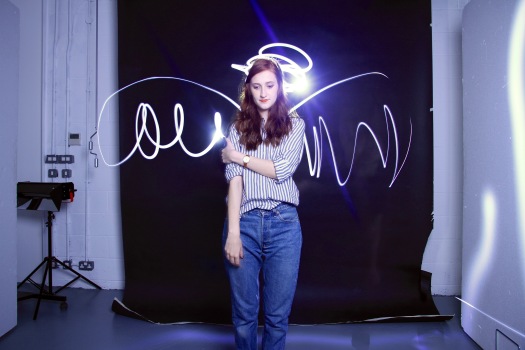
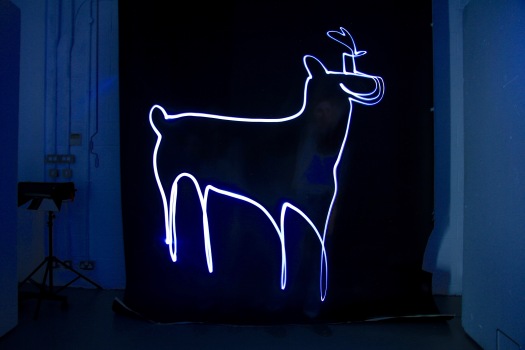
On a more positive note, we tried out a cool technique we learnt from the photography workshop with Alex Gaites which is to light paint an image while having the subject frozen as if it was shot with a high shutter speed :-

fashion-photos

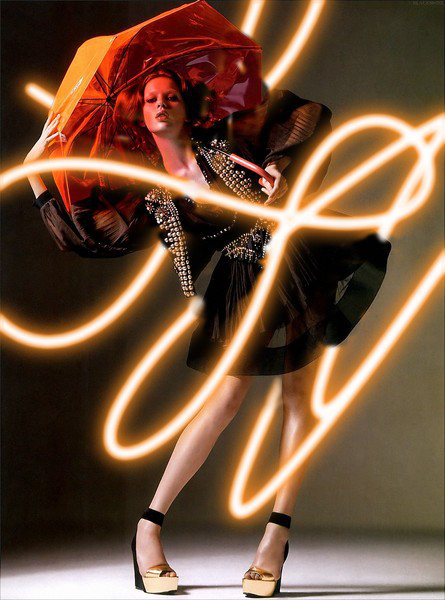
This technique involves shooting with a long exposure in darkness + flash to freeze the subject in the frame + strobe/small light source with which to paint.

img_9111img_9109img_9108img_9097img_9103

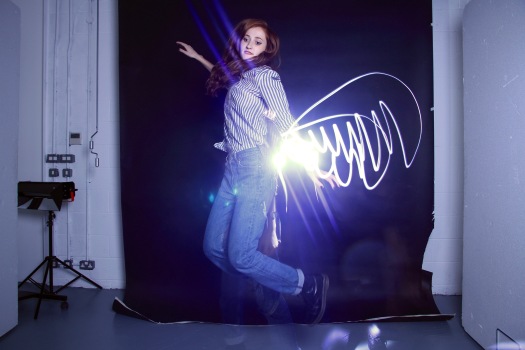
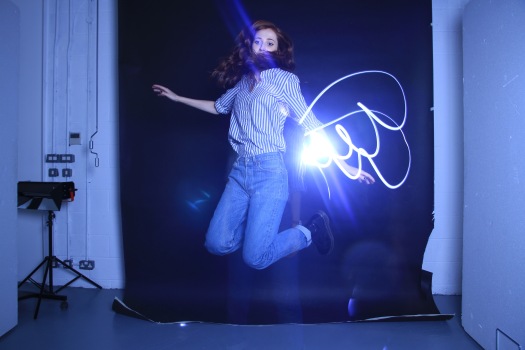
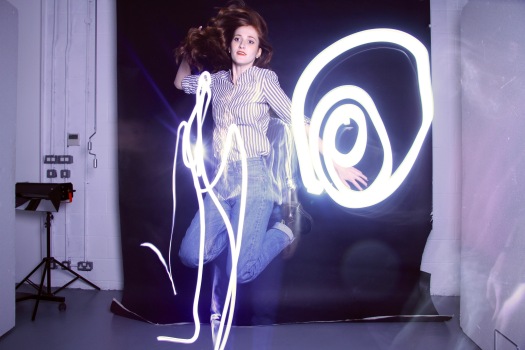
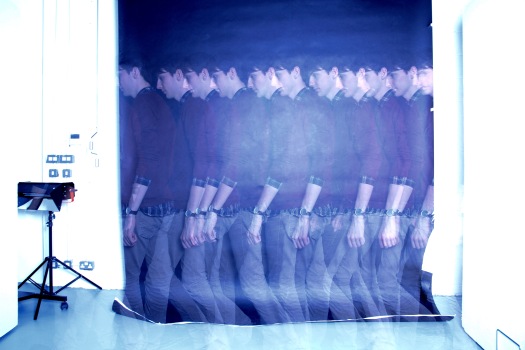
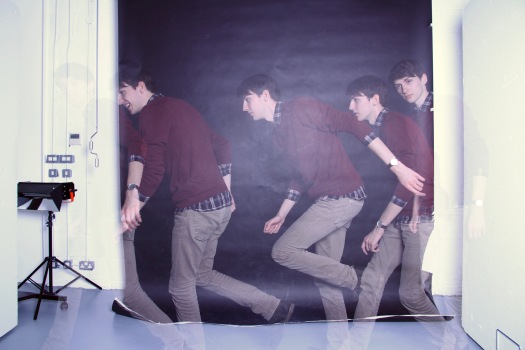
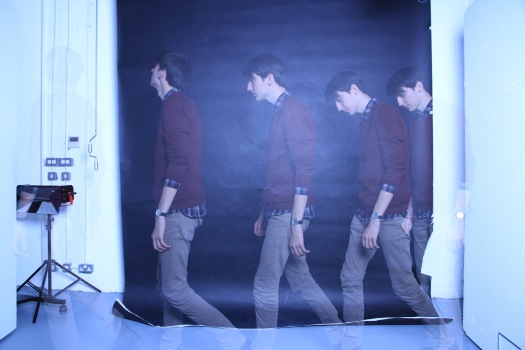
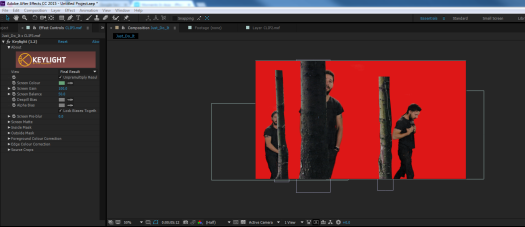
We also experimented flashing the subject multiple times as the subject moves to different positions in the frame :-

img_9099img_9100img_9101img_9115img_9117

Chroma Key Compositing on After Effects

In one of the After Effects workshop I had the opportunity to learn to composite two or more images or videos together in the software. This is something I’ve always wanted to learn.

To begin, I imported a video of Shia Labeouf doing a monologue before a green screen into After Effects, and applied the Keylight(1.2) effect. Using the Screen Color Picker I picked a point of the green screen closest to the subject(this produces the best result) to remove the background from the clip.

capture

Then, under the current Keylight effect panel, I changed the ‘View’ from ‘Final Result’ to ‘Screen Matte’. This allows me to make adjustments to the key properly with the black & white view. Under the Screen Matte tab I adjusted the ‘Clip Black’ and ‘Clip White’ to refine the effect. capture1-1

Then I placed Shia onto this image of a pine forest.

inside-pine-forest

Using the Pen tool I created a selection of the thickest tree and placed this layer above the one of Shia. Being the above most layer this allows Shia to walk behind then tree producing the effect of Shia walking in the forest. capture003

I then repeated this a few times with different trees and different scenes of Shia’s monologue.capture002capture004capture001

I definitely intend to do more of this soon.


Cyanotypes

img_1698
Done on normal paper
img_1699
Done on tracing paper
img_1700
Tracing paper as well

I have found that the tracing paper works very well with Cyanotypes(although I have to be extra gentle in the process in order to not ruin in as in the last photo) especially when put before a light source ; it illuminates beautifully.

This process begins with mixing Potassium Ferricyanide and Ferric Ammonium Citrate, then painting it onto a piece of paper and left to dry. If using tracing paper, the paper has to be taped onto a metal tray to the paper from coiling into itself. When dried, place an acetate of an image on top of it and clamp them in between a board and a glass screen. It is then either put out in the sun to be exposed or in the machine. When it has been exposed, the paper is washed, then dried.

Here are some cyanotypes I found online which have caught my eye. I realise that they all have an “old” look, they just seem to suit the aesthetic much better than crisp digital images :-capturecapture2capture3capture4capture5capture6capture7capture8

I very much look forward to producing more of these beautiful blue images that I have absolutely fell in love with.

(2nd)Retouching : Light rays

Here I practice the effect on another photo of mine :-YOOO.JPG

Again I began by making a selection, filling it with a yellow extremely close to white.

Pulling(Free Transform) the light beam toward the subject and adjusting its shape. This time utilising the Box Blur(thought it was more suitable) filter adjusting it to my desired blur amount.

Then on a layer mask apply the gradient tool to produce light intensity fade.

refwlikyjuhfumjydtnbgfvipuoiyuyftgytrbgtf4756tr

Then using the black paint on the layer mask I masked out the part of the beam infront of the wooden pillar. Then I lowered the opacity.sdfsdfgsdf

There was another door beyond the frame of the picture to the right, and I thought I’d create another beam for it.rdthdghfgpoiuyuyghbv

But I thought that second beam was too much, so I deleted it and finally ended up with this:

BEFORE:-yooo

AFTER:-WeaveladyBEAM.jpg


Retouching : Light Rays

Light beaming through slits between closely setup umbrellas in a dusty market, or sun rays piercing through clouds in an early misty morning, sometimes the camera just doesn’t capture them faithfully. I set out to learn how to reintroduce or enhance this feeling back into my images.

I watched a number of Photoshop tutorials on YouTube specific to creating such effects, and have found 3 videos with different methods that produced outputs which were closest to what I was looking for in my own images.

  1. Video by Andrei Oprinca  
  2. Video by Photos in Color 
  3. Video by Phillip Haumesser Photography 

I started with this photo of mine :

j6yhrtgerf

The first method I used (by Andrei Oprinca) starts with creating a new layer and using the Polygonal Lasso Tool create a selection to represent the light source (in this case the windows) and filled it with a yellow very very close to white, but not white. Then using “Distort” and “Perspective” in Free Transform I adjusted the shape of the light beam.

plcolorpickerilukajdf

Then, in Filters I applied first the Box Blur which was what Andrei Oprinca suggested, but I also tried the Gaussian Blur which was what I ultimately decided to utilise.

estdfybhinj4swerdtgyjip

Then, adding a layer mask to the layer, apply the gradient tool to the layer mask to give the light beam a natural fade. After adjusting the opacity and position of the light beam this is what I ended up with :-

IMG_7884-Polygonshine.jpg

But I wasn’t too satisfied with it yet so I tried a different method by Photos in Color.

This method begins by creating a brush and activating “Shape Dynamics” to increase the “size jitter” to a 1000% and activating “Scattering”. Then I also increased the brush tip “spacing”.

edrgujklw4edrtgkjotdrfyijol

Then, lightly paint around the area of the light source which in this case is the top left corner. After this, apply Radial Blur, place the blur centre where the light source is in the top left corner, then set it to “Zoom” with amount of 100%.

edtrfyhjklesrdtguinjkml

Before:-

j6yhrtgerf

After:-YO.jpg

After(first method) :-IMG_7884-Polygonshine.jpg


Pinhole Photography Workshop

A pinhole camera is the simplest possible camera. I’ve learnt about the camera obscura phenomena in Physics class before, but only in theory, I have never taken a pinhole image. Today we learnt to make a Matchbox Pinhole Camera using only a Matchbox, a pin, foil, black tape and a roll of 35mm film.

img_1684
First step is to cut out a rectangle off the back of the matchbox. This creates the frame for the image. Then the interior of the box is painted black to ensure complete darkness.
img_1685
Then a small rectangle is cut out from the front of the matchbox cover and a small piece of black foil is attached inside the cover, sealing the small rectangle.
img_1686
A pin is used to prick a hole through the foil.
img_1687
The roll of film slides in between the back of the matchbox and its cover, out through the other side it is then attached to the spindle of an empty film canister.
img_1688
The construction is then sealed all around (except for the small rectangle at the front) with black tape to create a rigid body and block out all light. The side with the new roll of film is marked.
img_1689
A small piece of card attached to a small piece of tape and blue tack is used to create the shutter.
img_1692
We spent the afternoon taking pictures with our matchbox, but unfortunately I over exposed every image..

It was a sunny afternoon before we left the college to use our matchbox cameras for the first time, and Madeleine our instructor proposed an exposure time of 1 second.

Clouds began to block out the sun when I started to shoot, so I held the shutter open for an extra 1-2 seconds each image, even longer for a couple which I took indoors.

I found out later that for a pinhole camera a size of a matchbox, with a focal length of about one centimetre, a difference of 1 second exposure time makes a significant difference.